Search This Blog

7.14.2011

Tortilla Roll-Ups


A couple weeks ago I had to make an appetizer for a family gathering. I was at work and it was almost time to leave and I was heading to the grocery store after work. I was scouring my recipes online to see what appealed to me and I couldn't find an appetizer that was quick, easy and cheap. What's a girl to do?! Well, this girl asked her male co-workers. Luckily, my buddy Matt suggested these roll-ups and after a quick e-mail to his wife, I had the recipe in my hands!

I liked these tortilla roll-ups because they are actually really versatile and you can make them ahead of time and they are still very tasty. I'd like to try some additional add-ins and different flavors of cheese to mix it up a bit but it is yummy just the way the original recipe states. This is a great go-to appetizer when you are in a pinch!


Tortilla Roll-Ups
Source: Matt's wife


Ingredients:
Flour tortillas
1 (8oz) package of cream cheese, softened
1/3 cup sour cream
1 ranch packet
1 cup shredded cheddar cheese
3 tablespoons chopped black olives
Any add-ins: jalapenos, salsa, tomatoes, beans, chicken, etc


Directions:
1. Mix all ingredients.
2. Spread onto tortillas.
3. Wrap each tortilla in plastic wrap and refrigerate for at least an hour.
4. Slice and serve!


7.04.2011

Berry Cheesecake Parfaits


I had been eyeing this recipe on Kraftfoods.com for quite some time. All the reviews were positive and it looked pretty easy to make. I think I was waiting for the berries to be in season so I didn't have to pay an arm and a leg for them. For the record, I like my food quick, easy, delicious, and CHEAP! I figured that since today is our nation's Independence Day and everything is red, white, and blue, this would be a perfect day to dive in. Not to mention the blueberries and strawberries were on sale!

This is an excellent summer dessert! It is light, creamy, fruity, and refreshing on a hot summer's day. I didn't have Cool Whip so I didn't add that but the dessert was still amazing. I think the Cool Whip just makes it a more fluffy and less dense pudding. This dessert would be a great addition to any potluck or dinner party if you put it in a trifle dish to serve a crowd. After making it I was thinking about all kinds of variations of it as well. You could do chocolate pudding with brownies, you could subsitute pound cake for Nilla wafers, you could use lemon pudding instead of vanilla for a more citrusy taste....the possibilities are endless! 


Ingredients:
1 package (8oz) cream cheese, softened
1 1/2 cups cold milk
1 package (3.4oz) Jell-O vanilla flavor instant pudding
1 1/2 cups thawed Cool Whip whipped topping, divided
24 Nilla Wafers, coarsely chopped
1 1/2 cups mixed blueberries and sliced fresh strawberries
 
Directions:
1. Beat cream cheese in medium bowl with mixer until creamy. Gradually beat in milk.
2. Add dry pudding mix and mix well, about 2 minutes. Whisk in 1 cup Cool Whip.
3. Layer half of each of the wafers, berries and pudding mixture in parfait glasses. Repeat layers.
4. Top with a dollop of Cool Whip and garnish with berries.

6.12.2011

Noodles & Company Macaroni & Cheese (Copycat Recipe)


If you have ever been to Noodles & Company and had their Macaroni & Cheese, then you know that this stuff is like crack-cocaine for the mac & cheese lover! When you get this at Noodles & Co. it comes in a bowl that has the cheese sauce ladeled into the bottom, then they place the noodles on top and finally sprinkle some shredded cheese over everything. When you get it you immediately mix it up so that the shredded cheese can melt and bind it all together. Finally you dig in and get a big forkful of noodles, pull it up to your mouth and watch as the cheese just strings away from the dish. That first bite is like ooey gooey goodness as it all melts in your mouth!! I seriously think that sometimes I see rainbows when I'm eating this!! **salivating**

I have tried many many times to just replicate this dish without ever using a recipe and had failed every time. Yesterday Kurt was out of town and I had a serious craving for this mac & cheese. Finally I did what every good researcher does, I Googled this dish! Duh, this should have been something I did ages ago! I found the same copycat recipe on many websites so decided that it was probably good enough to try. I was pleasantly surprised when I made it, the cheese sauce was gooey and cheesy, the noodles cooked al-dente, and the cheese on top added a little extra flavor. I thoroughly enjoyed mixing this up and watching it turn into the most yummy macaroni and cheese ever!! Oh, and did I mention that it is super easy to make?! This has now turned into my go-to recipe for macaroni & cheese.

I should note that the cheese sauce is really thick, a lot thicker than Noodles & Co.'s sauce. I cut this recipe in half when I made it (still plenty for 2 people) and I made a roux with only 1 tablespoon of butter and 1 tablespoon of flour and it was still really thick. Next time I might try just heating the half and half then adding the cheese.


Noodles & Company Macaroni & Cheese (Copycat)

Ingredients:
1 lb. elbow noodles
1/4 cup butter
1/4 cup flour
3 cups half & half
1/2 tsp salt (or to taste)
1/4 tsp pepper (or to taste)
3 cups Monterey Jack or Colby Jack Cheese (I used Monterey Jack)
Directions:
1. Cook pasta according to package directions.
2. In a large saucepan melt the butter over medium-high heat. Stir in the flour and cook for 1-2 minutes, making a roux. Gradually whisk in half & half until thickened. Stir in salt (and pepper if you like).
3. Remove from heat and add cheese. Stir until cheese melts.
4. Ladel cheese into bottom of bowl. Spoon noodles on top. Sprinkle with fancy shredded cheese (monterey jack or mild cheddar is best).

5.24.2011

Portobello, Broccoli and Red Pepper Melts


Do not pass GO. Do not collect $200. Just make these melts! These melts are amazing for so many reasons and you will discover all of them when you make this sandwich! These sandwiches are chock full of veggies and flavor, are super duper easy to make, and there is hardly any clean up involved! To top it off, this sandwich can be modified in so many ways, add meat, switch up the veggies, change up the cheese, make it into a panini...possibilities are endless!

I was worried Kurt would not be a huge fan of this dinner because there was no meat and Kurt is sort of your "meat and potatoes" kind of guy. He seemed a little skeptical but after the first bite all I heard was "mmmm" and a muffled "disissooogooooood" so I'm pretty sure that just about anyone will like this sandwich. If that is not enough evidence that you should make this, I gave this recipe to my co-worker who made it for her family. Her 16 year old son grumbled as she was making it and after the first sandwich he ate another sandwich and told my co-worker that this should go into the rotation (he also said that I have given so many delicious recipes I should open a restaurant - I love this kid!!)!

Portobella, Broccoli and Red Pepper Melts
Souce: Adapted from Annie's Eats

Ingredients:
1 bag broccoli florets (I used 1/2 bag)
1 tbsp. olive oil
Kosher salt and black pepper
1 pint baby portobellas, sliced (I bought the pre-sliced ones)
1 jar of roasted red pepper strips (or you can make your own)
1/4 cup light mayonnaise
1/4 tsp garlic powder or fresh minced/pressed garlic
1 tsp. balsamic vinegar
4 thick slices country bread
2-4 oz. muenster cheese, thinly sliced (whatever cheese you prefer works)

Directions:
1. Preheat a broiler with a rack placed 4-6 inches from the heat source. Line a rimmed baking sheet with aluminum foil. Place the broccoli and mushrooms on the baking sheet, drizzle with olive oil and season with salt and pepper. Toss to combine. Broil 5-6 minutes then toss.

2. Add about 3/4 cup roasted red pepper strips to the mushrooms and broccoli. Broil another 6-7 minutes until the vegetables are tender. Set aside.

3. Meanwhile, combine the mayo and garlic in a small bowl, season with salt and pepper. Place the slices of bread on a work surface, drizzle each slice with some balsamic vinegar then spread each slice of bread with 1 tablespoon of the garlic-mayo mixture.

4. Top each slice of bread with the cooked veggies and then with a slice of cheese. Place the open-faced sandwiches on a foil lined baking sheet and broil until the cheese is melted and lightly browned.

**I made this sandwich again last night only added some goat cheese and used some buns that I had and made it into a normal sandwich. After the sandwich was assembled I put it in my George Foreman and made it into a panini for us....YUM-O!!!

5.15.2011

Layered Mocha Cheesecake


Honestly, after reading the title of this post do you really need to know why I wanted to make this cheesecake?! Well, since you are already here I might as well give you the story. For Easter this year, my in-laws got a huge suite at a hotel/water park in the Wisconsin Dells for the entire family to stay at. We were all in charge of bringing an appetizer. Well, there were going to be 4-5 appetizers so I decided I'd bring dessert. I had been eyeing a Strawberry Swirl Cheesecake from Kraftfoods.com but when I mentioned it to Kurt he said that he wanted a mocha cheesecake. I thought long and hard about what kind of cheesecake to make. In the end....I chose both!!! I am personally not a huge fan of mocha, or anything coffee flavored for that matter, but I am a sucker for my husband and love making him happy with my food. I searched a lot of websites for a good looking mocha cheesecake and, after what felt like forever, found this little gem! There was definitely more prep work involved with this cheesecake but man-alive it was totally worth it! The coffee flavor is not overpowering (which I was afraid of) and the chocolate crust with a chocolate cheesecake layer and chocolate on top.....divine! I think that next time I'd make the very top chocolate layer a ganache so it's a little creamier. Other than that, this was a perfect cheesecake!

Source: Food.com

Ingredients:
Crust:
1 1/2 cups crumbled cream-filled chocolate sandwich cookies (better yet, use Oreo crumbs)
1/4 cup butter, melted

Filling:
2 tbsp instant coffee granules & 1 1/2 tsp instant coffee granules 
1 tbsp boiling water
1/4 tsp ground cinnamon
4-8oz packages cream cheese, softened
1 1/2 cups sugar
1/4 cup flour
4 eggs, lightly beaten
2 tsp vanilla extract
2 cups semi-sweet chocolate chips, melted and cooled

Glaze:
1/2 cup semi-sweet chocolate chips
3 tbsp butter
chocolate covered coffee beans (optional)

Directions:
1. Combine cookie crumbs and butter; press onto the bottom of a greased 9 inch springform pan.
2. In a small bowl, combine the coffee granules, water and cinnamon; set aside.
3. In a large mixing bowl, beat the cream cheese, sugar and flour until smooth. Add eggs; beat on low speed just until combined. Stir in vanilla. Divide batter in half.
4. Stir melted chocolate into one portion; pour over crust. Stir coffee mixture into the remaining batter; spoon over chocolate layer.
5. Place pan on a double thickness of heavy duty foil. Securely wrap foil around pan. Place in a large baking pan; add 1 inch of hot water to larger pan.
6. Bake at 325 for 45-50 minutes or until center is just set and top appears dull. Remove springform pan from water bath. Cool on a wire rack for 15 minutes. Cover with plastic wrap and place in refrigerator and refrigerate overnight (this awesome trip prevents cracking!).
5. In a microwave-safe bowl, melt chocolate chips and butter; stir until smooth. Spread over cheesecake. Remove sides of pan. Garnish with coffee beans if desired. Refrigerate leftovers.

This is what my kitchen looked like as the cheesecake went in the oven...total disaster zone!!

5.10.2011

Welcome Summer! Steak & Goat Cheese Salad


Today was B-E-A-UTIFUL!! Summer has finally arrived (at least for a couple days) and it was a breath of fresh air. When the weather finally gets nice here in Wisconsin, I get inspired. I am inspired because there are fresh fruits and veggies at the grocery store, the farmers market start up at the capitol and they have amazing fresh food there....and I realize that I will actually have to get into a bathing suit very soon. This morning I was sitting at work wondering what the heck I was going to make for dinner tonight (very productive, I know). I didn't want anything heavy because it was hot and humid today, I wanted something easy because I don't have much time to cook, and I wanted something different than I've been doing all winter (i.e. pasta and chicken). All of a sudden it hit me, a steak salad with goat cheese! Light, filling, and full of flavor. I did not miss the mark with this one either. Serve this with some crusty bread and a glass of red wine and you have yourself a perfet summer evening dinner!!


In case you were wondering, this was husband approved times 10! He raved and raved while eating and said that we definitely have to make it again.

Steak & Goat Cheese Salad
Source: Cristina Original

Ingredients:
2 four oz steak fillets (or whatever steak you have on hand)
1 bag romaine lettuce, or any lettuce you prefer
1/4 cup grape tomatoes, quartered
2 oz goat cheese, crumbled
balsamic vinegarette to taste
Lawry's seasoned salt

Directions:
1. Preheat grill. Season steaks with Lawry's and cook steaks on grill until they reach desired doneness (ours were medium rare). Once done, leave on plate to cool to room temperature (about 5-10 minutes).
2. Add salad dressing to salad while in bag. Close bag and shake to cover all lettuce with dressing.
3. Pour salad into bowls. Sprinkle tomatoes and goat cheese on salad.
4. Slice steak into thin strips, place on salad, and serve!

5.06.2011

Slow Roasted Tomato Pesto Pasta


This pasta is divine! There is nothing I love more than pasta.....except maybe a pasta this easy! I found this on another one of my favorite blogs, Stephanie Cooks. She always has simple, delicious, and (usually) healthy food. One night as I was scrolling through her blog, this picture caught Kurt's eye, which was a total surprise because he usually doesn't request pasta dishes.

I have been meaning to make this now for a week or so and last night I realized that if I didn't use my tomatoes they'd probably go bad. Unfortunately Kurt had plans so I ended up making this for myself and now I am glad I did because I had two helpings with leftovers for lunch! The flavor that the slow roasted tomatoes bring to the dish is wonderful. There is a subtle sweetness that they add to the pesto. I used store bought pesto but if you make your own I think this would be even better! The angel hair is nice because the sauce isn't heavy and a thicker noodle would make this a heavier dish. On top of all these amazing layers of flavor, the whole thing was very quick to pull together. A healthy, delicious, and quick dinner...yes please!


Ingredients:

1 pint cherry tomatoes
Olive oil
Salt
5 ounces chicken
Garlic powder
Salt and pepper
1/2 cup pesto
1/2 pound angel hair pasta
Parmesan cheese


Directions:
1. Preheat the oven to 250.
2. Wash the tomatoes, slice them in half, and lay them in an even layer on a foil lined baking pan.
3. Drizzle with olive oil and sprinkle with salt.
4. Bake until the tomatoes shrivel and "pop", about 20-25 minutes.
5. Meanwhile, bring a pot of water to a boil and cook the angel hair according to directions.
6. Cut the chicken into pieces, toss with garlic powder, salt, and pepper.
7. Add some olive oil to a skillet, about 2 tbsp, and cook the chicken until cooked through. Remove from the pan and set aside.
8. Once the tomatoes are cooked, add them to a bowl and mash them with a potato masher or a fork, until they break apart and their juice comes loose. Pour the smashed tomatoes into the skillet.
9. Add the pesto, heat the tomato pesto mixture over medium/high heat. Add the angel hair and chicken, tossing until all is evenly coated.
10. Serve with parmesan cheese to taste.

4.19.2011

Bev's Macaroni and Cheese


So I don't know who ev is however I do know that this mac & cheese was pretty darn good! Kurt takes a golf trip every year and is gone for a little over a week. While I hate that his is away, I am allowed to cook whatever I want. This usually means that I eat pasta and drink wine for a week straight (I'm not complaining)! I was in the mood for some serious comfort food while he was gone and that could only mean one thing....macaroni & cheese. I have been looking for a really creamy and delicious macaroni & cheese recipe for some time now. I used to always add the cheese when the milk mixture was too hot so my cheese was always gritty. I've finally learned that I don't need to cook the milk and cheese on med-high heat to make it melt. I am also not a fan of eggs in my mac & cheese, specifically since I don't eat eggs by themselves. I'm always worried I'll end up with mac & cheese and scrambled eggs - yuck! My ideal macaroni & cheese would be along the lines of the Noodles & Co macaroni & cheese but I can't quite figure out how they make that delicious cheese sauce. If you know how to make this macaroni & cheese from Noodles you better post a comment with the recipe!!!

Anyhoo, I found this dish on one of my favorite new sites to search for recipes, Food.com. This macaroni & cheese is very cheesy and creamy, although not as creamy as I thought it'd be but that may be because I used too many noodles. I thought the flavor was good (even though I forgot to add the mustard) and it is definitely something I'd make again. I did find out that it does not re-heat very well so I'd probably half the recipe next time I make it. If you want some yummy comfort food this will fit the bill.


Bev's Macaroni and Cheese
Source: Food.com

Ingredients
2 tbsp butter
1/4 cup flour
1 tsp salt
1/2 tsp dry mustart
1/4 tsp pepper
2 1/2 cups milk
2 cups grated chedder cheese
8 oz dry elbow macaroni noodles, cooked according to package directions

Directions
1. Melt butter in medium saucepan. Stir in flour, salt, mustard, and pepper until smooth.
2. Remove from heat and gradually stir/whisk in milk until smooth.
3. Stirring constantly, cook over medium heat until thickened, about 10 minutes.
4. Remove from heat. Stir in 1 1/2 cups cheese until melted.

5. Combine cheese mixture with macaroni noodles and pour into a 2 quart casserole dish. Sprinkle remaining cheese on top.
6. Bake in 375 degree oven for 25 minutes or until cheese is bubbly and golden.

4.12.2011

CUBcakes!!


In case you didn't notice, we are huge Cub fans (helloooo, we named our daughter Riglee!)! Every other year the Cubs play the Brewers at Miller Park very early in the season. It is always a good rivalry and always a lot of fun. And every other year, three families get together to tailgate and go to the game. The families are the Reulands, the Schmidts, and the Dickens...or as we now call ourselves, the Reuschmidtkens! We all sign up to bring a dish to share for tailgating and we all bring our own beverages [cough cough - cold beer].

This year I signed up to bring a corn/black bean salsa and some cupcakes. I had this great idea to make Cub themed cupcakes....or Cubcakes!!! My vision was a cupcake that the actual cake was a swirl of blue and red batter and then the top would be covered with buttercream and a fondant Cubs logo. In my mind, my cupcake would look like this:


Well, since I know nothing about fondant and didn't want to spend an arm and a leg figuring out how to make it, I decided I'd just make a buttercream logo. And lets be honest, there is no way I am a good enough artist to make the above cupcake...yet ;). So I decided that I would just make a regular cupcake with a homemade buttercream using this recipe from Wilton. I may be biased but they were pretty darn tasty! Let's just say that these Cubcakes were so good that even Brewer fans at work liked them!!

Source: Wilton

Ingredients
1/2 cup solid vegetable shortening
1/2 cup (1 stick) butter or margarine softened
1 teaspoon clear vanilla extract
4 cups sifted confectioners' sugar (approximately 1 lb.)
2 tablespoons milk

Directions
(Medium Consistency)
1. In large bowl, cream shortening and butter with electric mixer. Add vanilla.
2. Gradually add sugar, one cup at a time, beating well on medium speed. Scrape sides and bottom of bowl often.
3. When all sugar has been mixed in, icing will appear dry. Add milk and beat at medium speed until light and fluffy. Keep bowl covered with a damp cloth until ready to use.

For best results, keep icing bowl in refrigerator when not in use. Refrigerated in an airtight container, this icing can be stored 2 weeks. Rewhip before using.


Makes about 3 cups of buttercream icing.

4.09.2011

Chicken Bundles


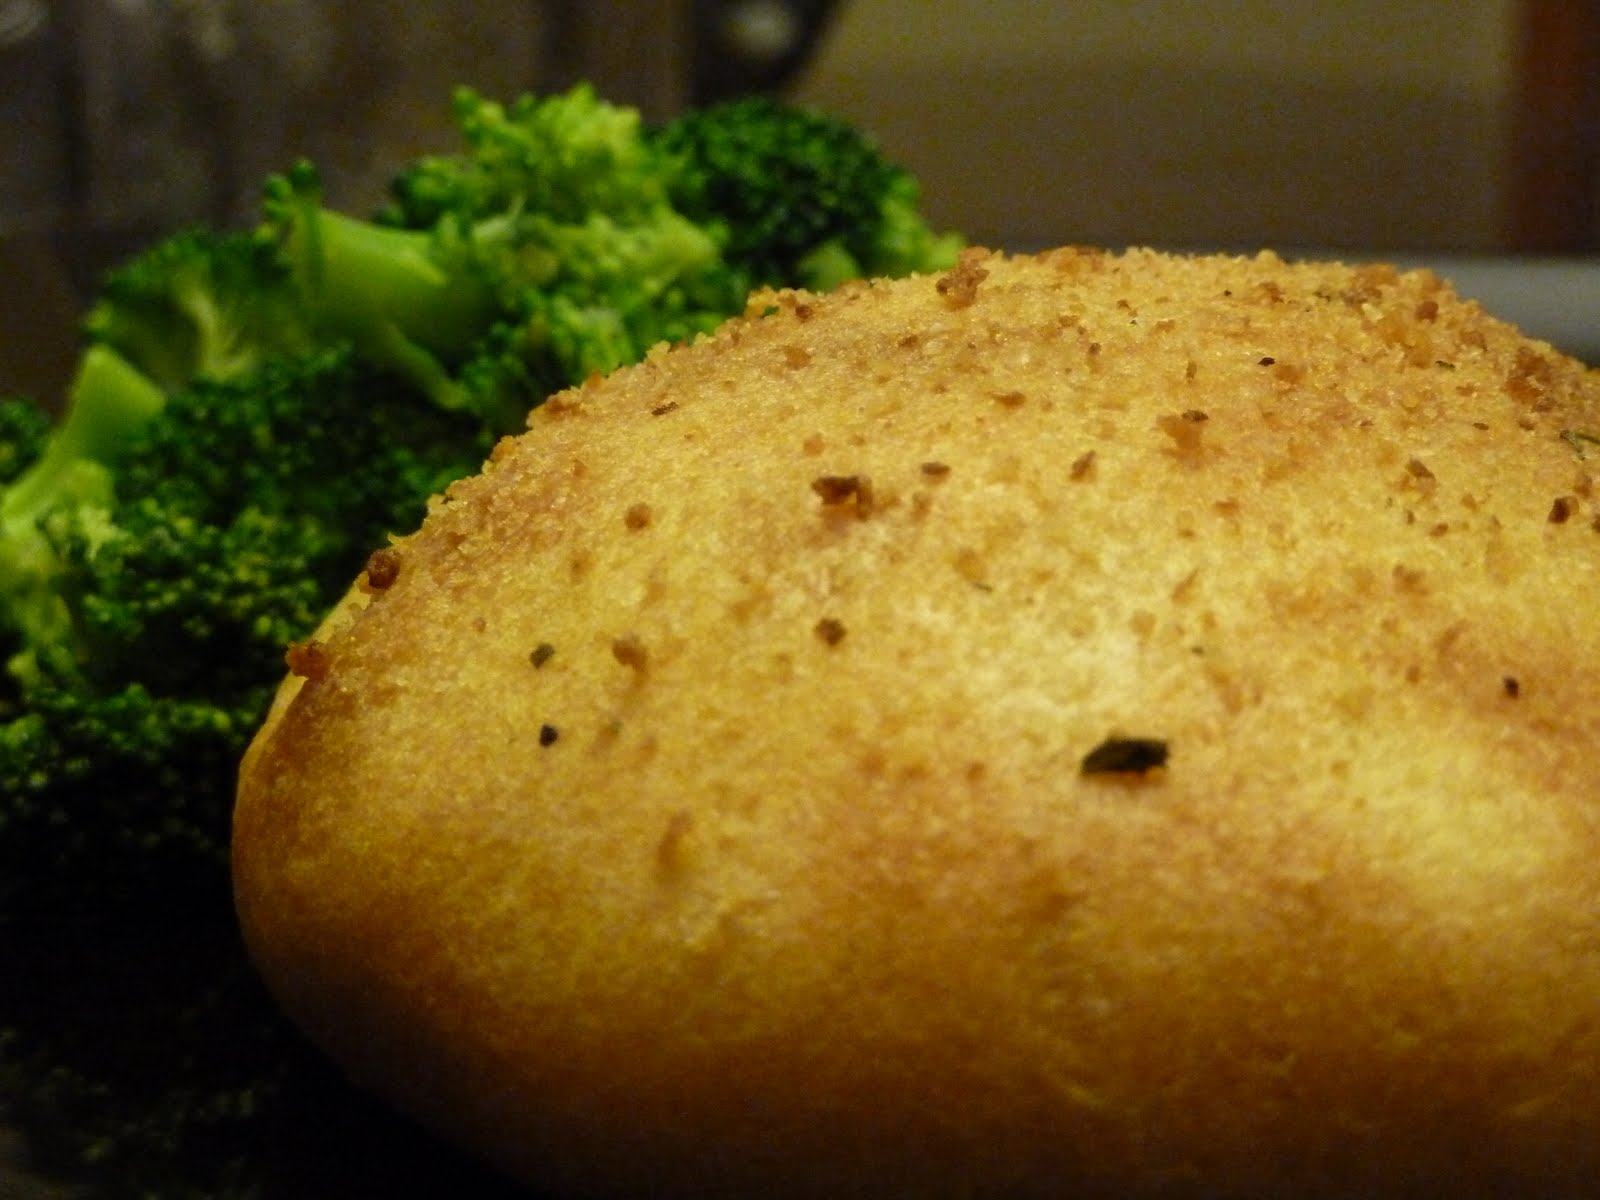
As you may know, I am part of a chat board for moms of July babies. These moms are just wonderful for so many reasons! We all share stories of our little ones, ask and answer questions about mommyhood, talk about the challenges we are facing in life....and share yummy recipes! This is one of those delicious recipes that had been shared. I saw the recipe pop up for the first time from one of the ladies as it is a staple in her house. After the recipe first posted, I'd see a new rave review pop up every day about this little bundle of yumminess! I have to admit, they do not disappoint. These chicken bundles are very easy to make and oh-so-tasty! If I make them again like this I will probably add mushrooms as well since we love mushrooms in this household. The other reason I like these bundles is because you can use any type of filling: pizza, mexican, italian, vegetarian...the list goes on and on really. Oh, definitely husband approved!


Ingredients:
1 sm pkg (about 1-1.5 lbs) chicken breasts, browned and chopped
1 8 oz package cream cheese
1 stick of butter
1 small jar of pimientos (I used green olives and chopped them up)
1/4 - 1/2 cup diced green onions
1 tsp minced garlic
salt & pepper to taste
2 cans Pillsbury crescent rolls (8 count)
2 Tbsp melted butter
Italian bread crumbs


Directions:
1. Soften cream cheese and butter and mix together in large mixing bowl.
2. Add pimientos, green onions, garlic, salt and pepper. Mix well.Add chicken and combine all ingredients.
3. Use 2 crescent roll triangles and seal perforations to make a rectangle. I usually try to make it as close to square shaped as possible.
4. Spoon chicken mixture into center (approx 1/4 cup). Pull corners together and seal. Place on a cookie sheet seam side down.
5. Brush bundles with melted butter and dust with bread crumbs.
6. Bake at 375 for 20-25 minutes

If you make these I'd love to hear what you think! Did you do anything different?